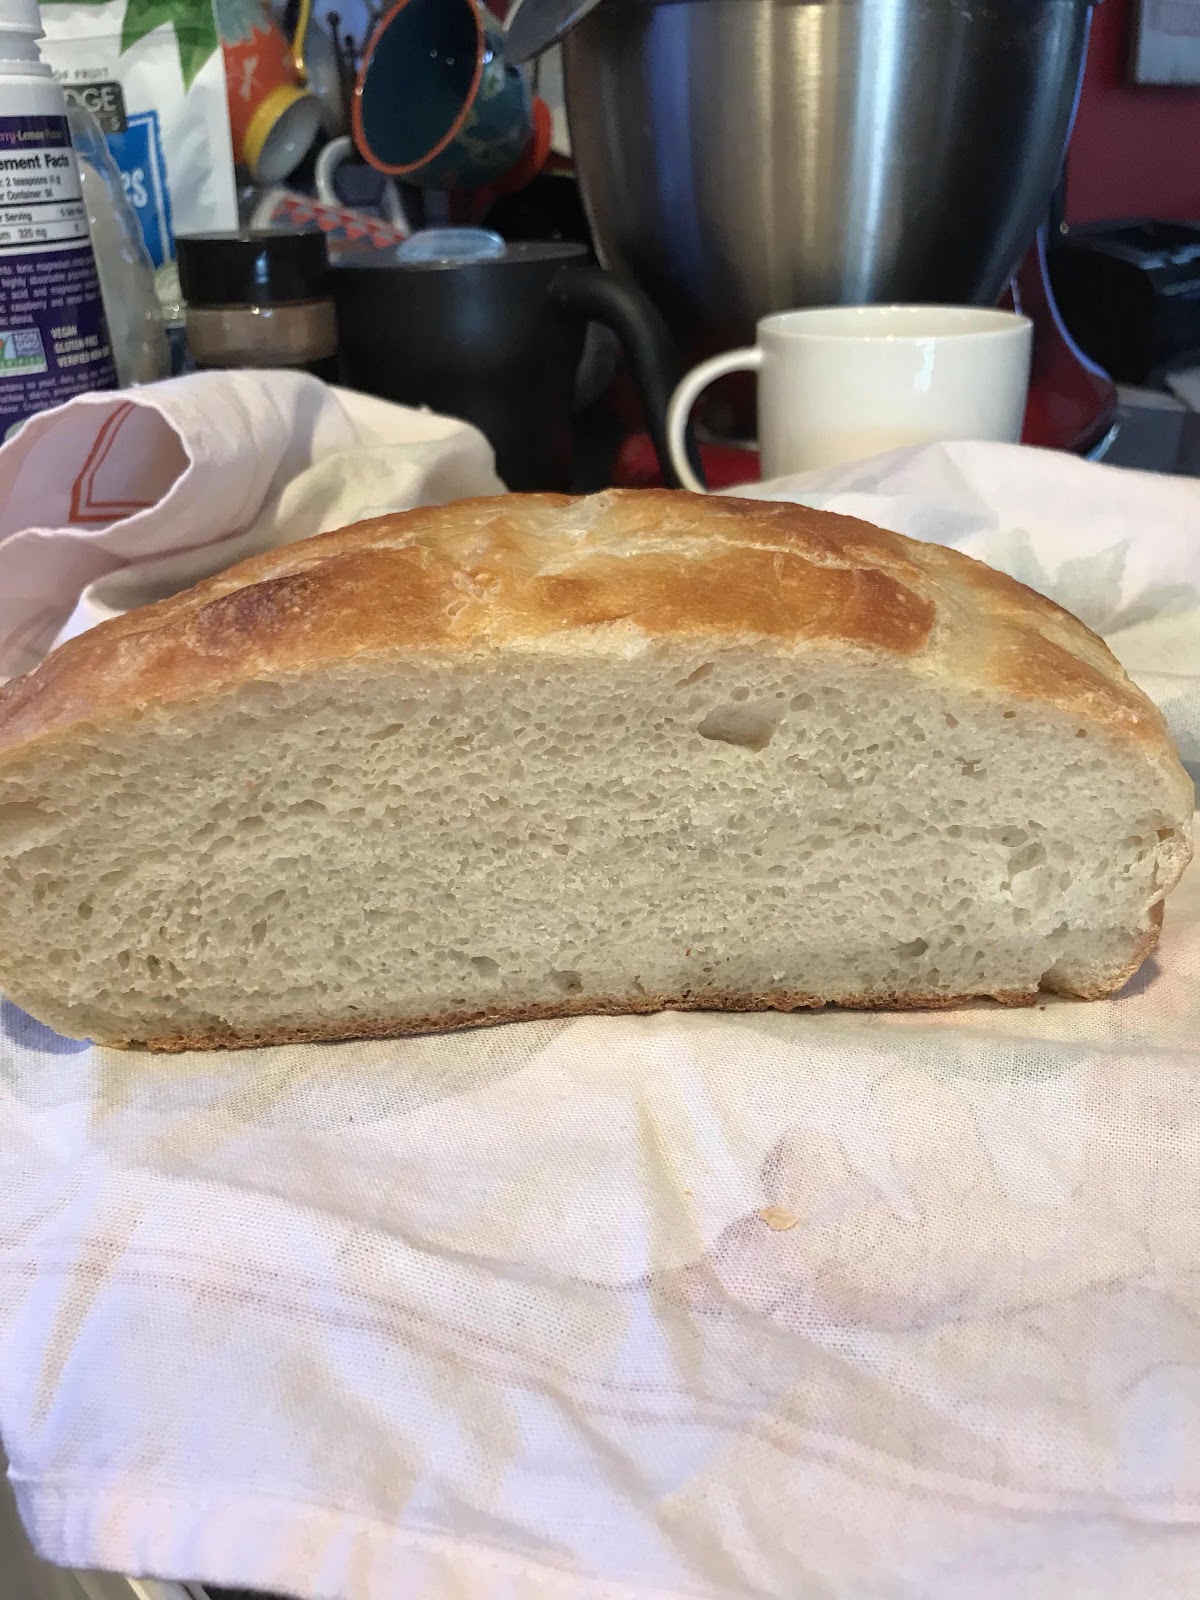
One of my sons gave me some sourdough starter around Christmas, and I have been experimenting ever since with a variety of recipes and cooking methods.
Basic Recipe
Take starter out of frig and let it come to room temperature with the lid on. I usually plan for about 3 hours.
In a mixing bowl for my Kitchen Aid mixer add:
3 cups King Arthur Bread flour
1 cup of starter
1-1/4 t to 1T salt and 3/4 t regular yeast - dissolve in 1-1/2 cups of purified water (use about a cup to start, then add more if needed)
Using the bread hook, mix dough, taking time to scrape sides and get it all mixed with no apparent lumps
It will be wet. Put it on a floured surface and fold the sides into each other using a pastry scraper and not your hands. Use more sprinklings of flour to keep the dough from sticking to everything.
Feed the starter with flour and water, mix and put it back in the frig.
Put some olive oil on a paper towel and wipe the inside of a large glass bowl. Add the dough. Cover with a towel and let it rise for 6 hours in the warmest spot in your kitchen
Preheat the oven at 450.
Empty the dough out on a floured surface, and do a few more folds with the scraper. Oil the bowl again and insert the dough. Cover for an hour.
Dutch Oven. Make sure it’s oiled and ready to go
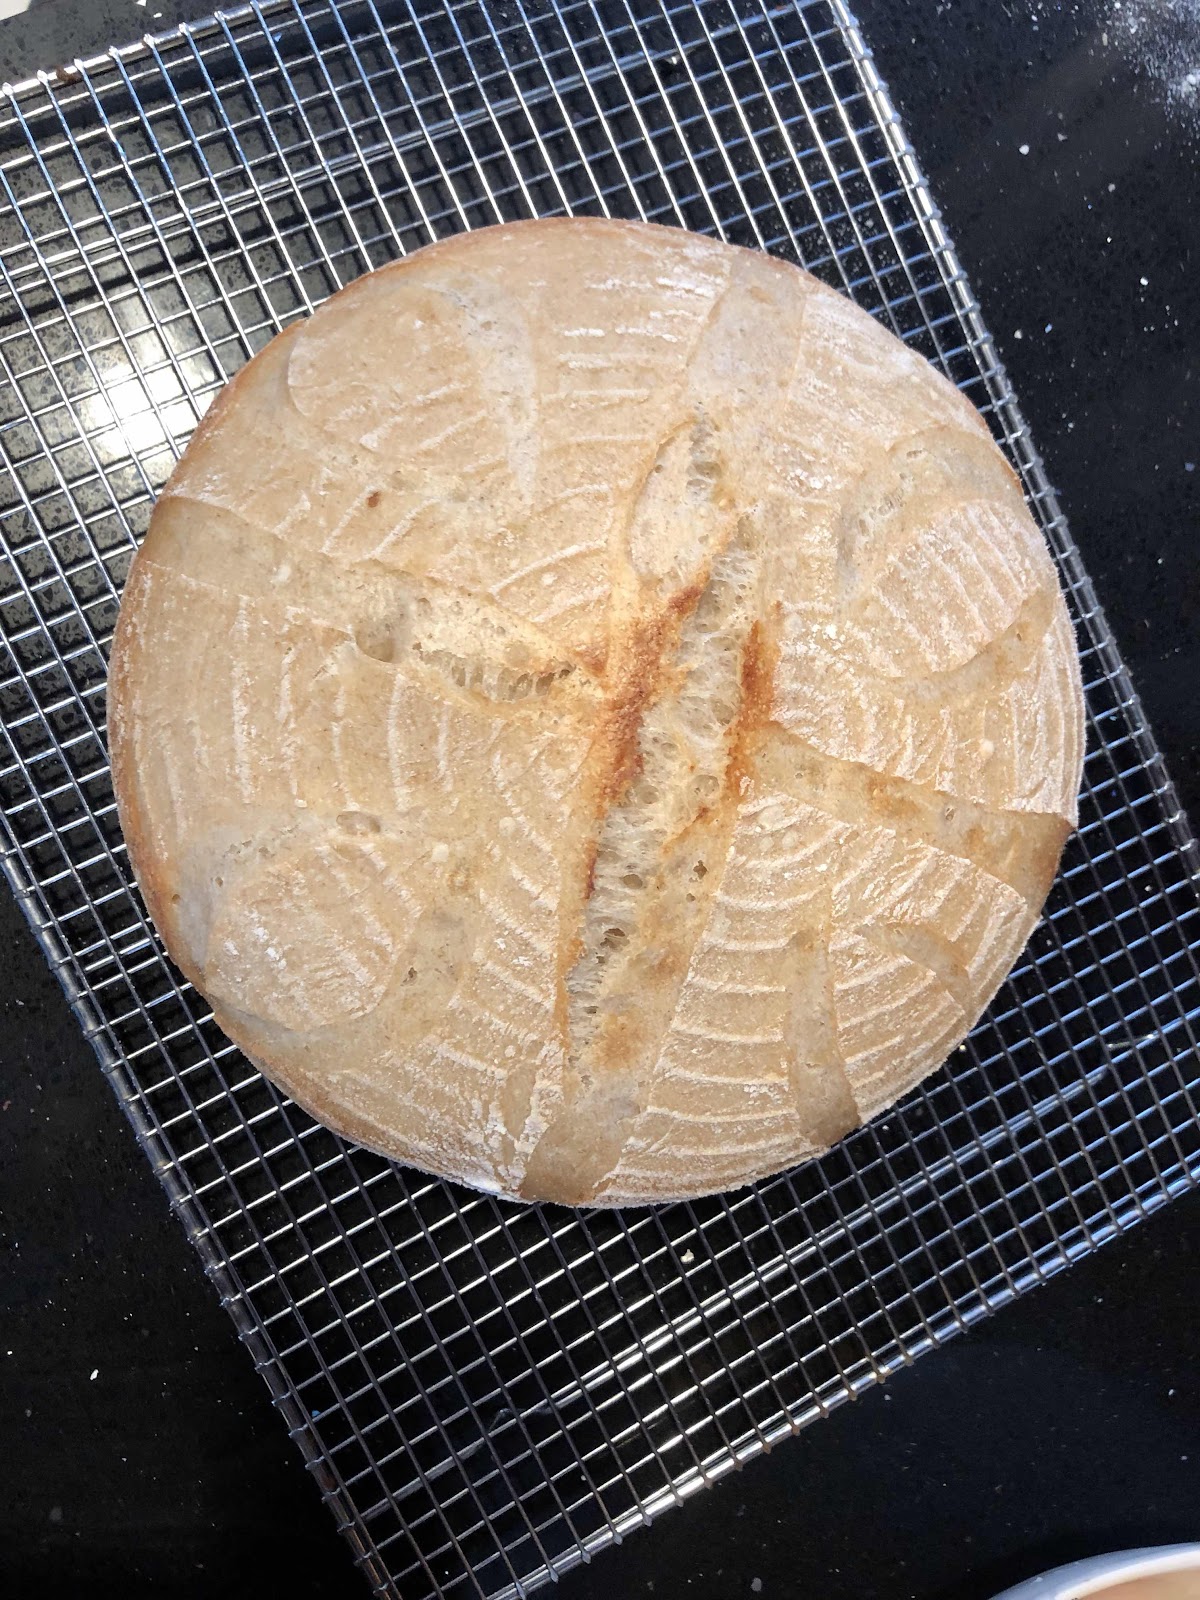
Turn out the dough and using the scraper, form a nice ball. Place on the lid, score the top with a sharp knife or razor blade, and cover it with the based on the container.
Bake covered for 30 min, and 15 min without the cover
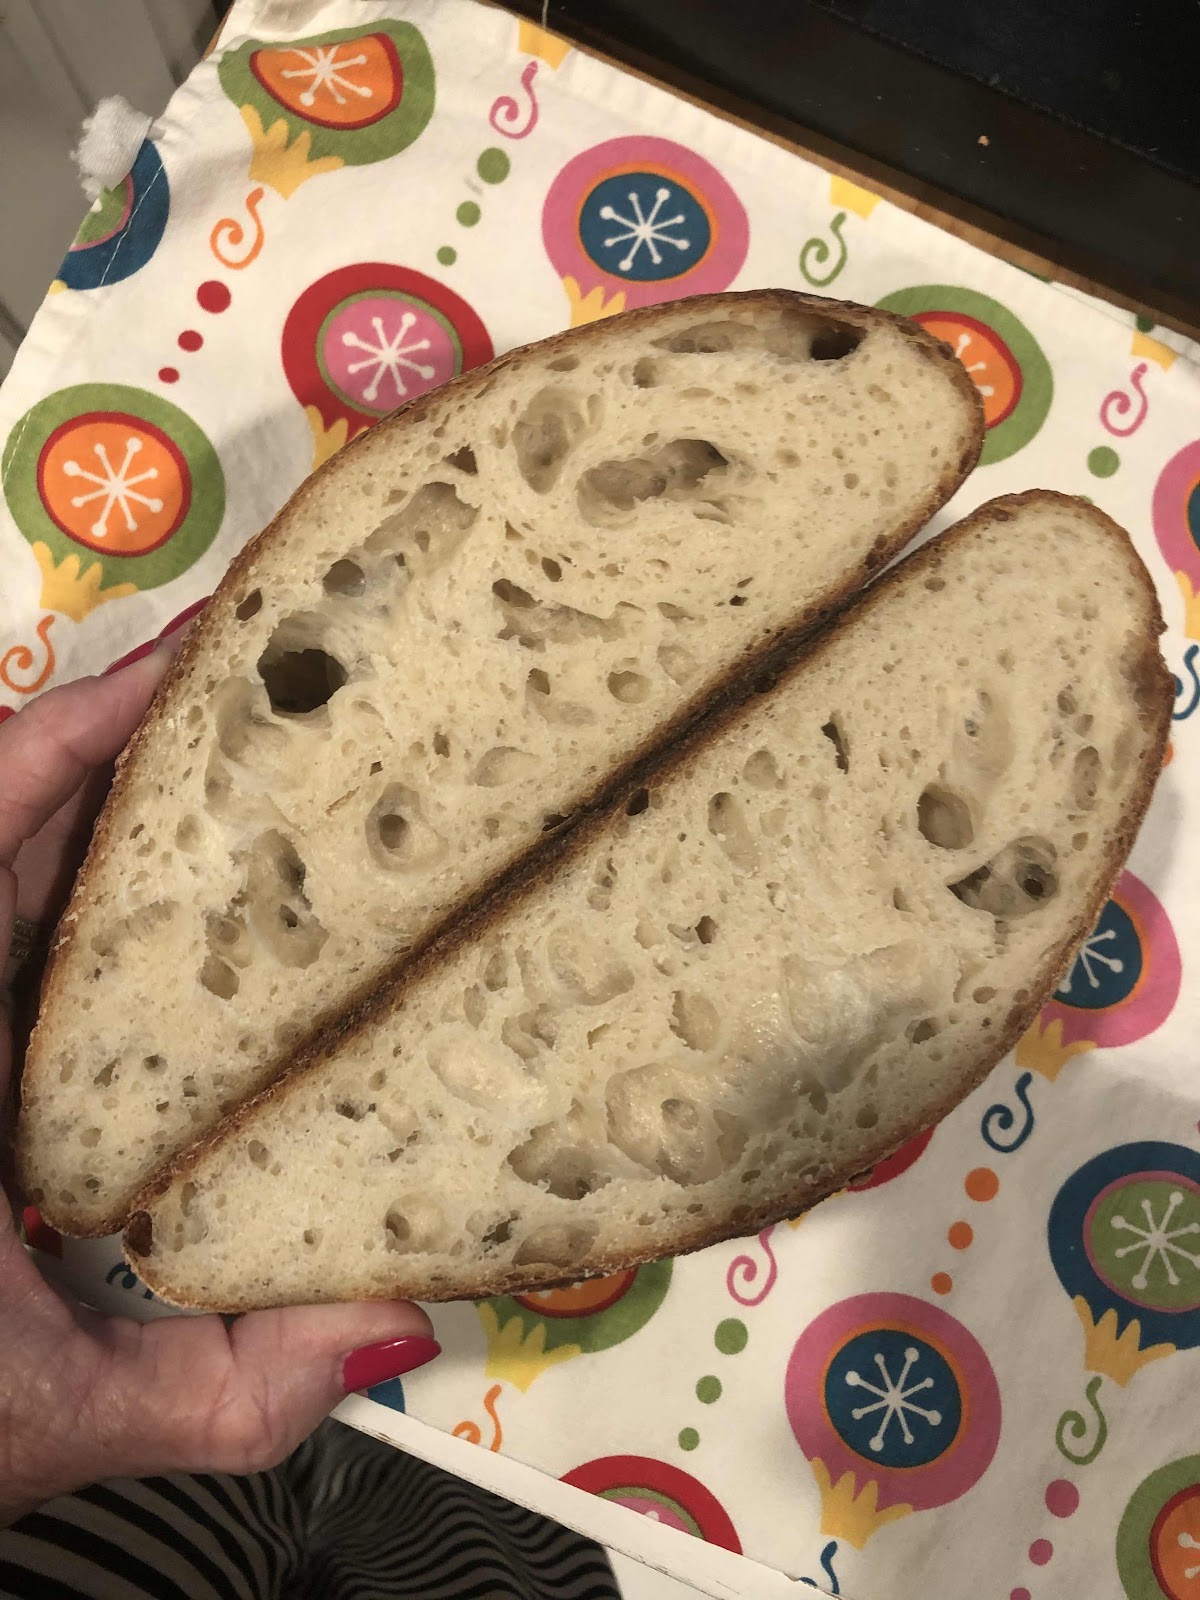
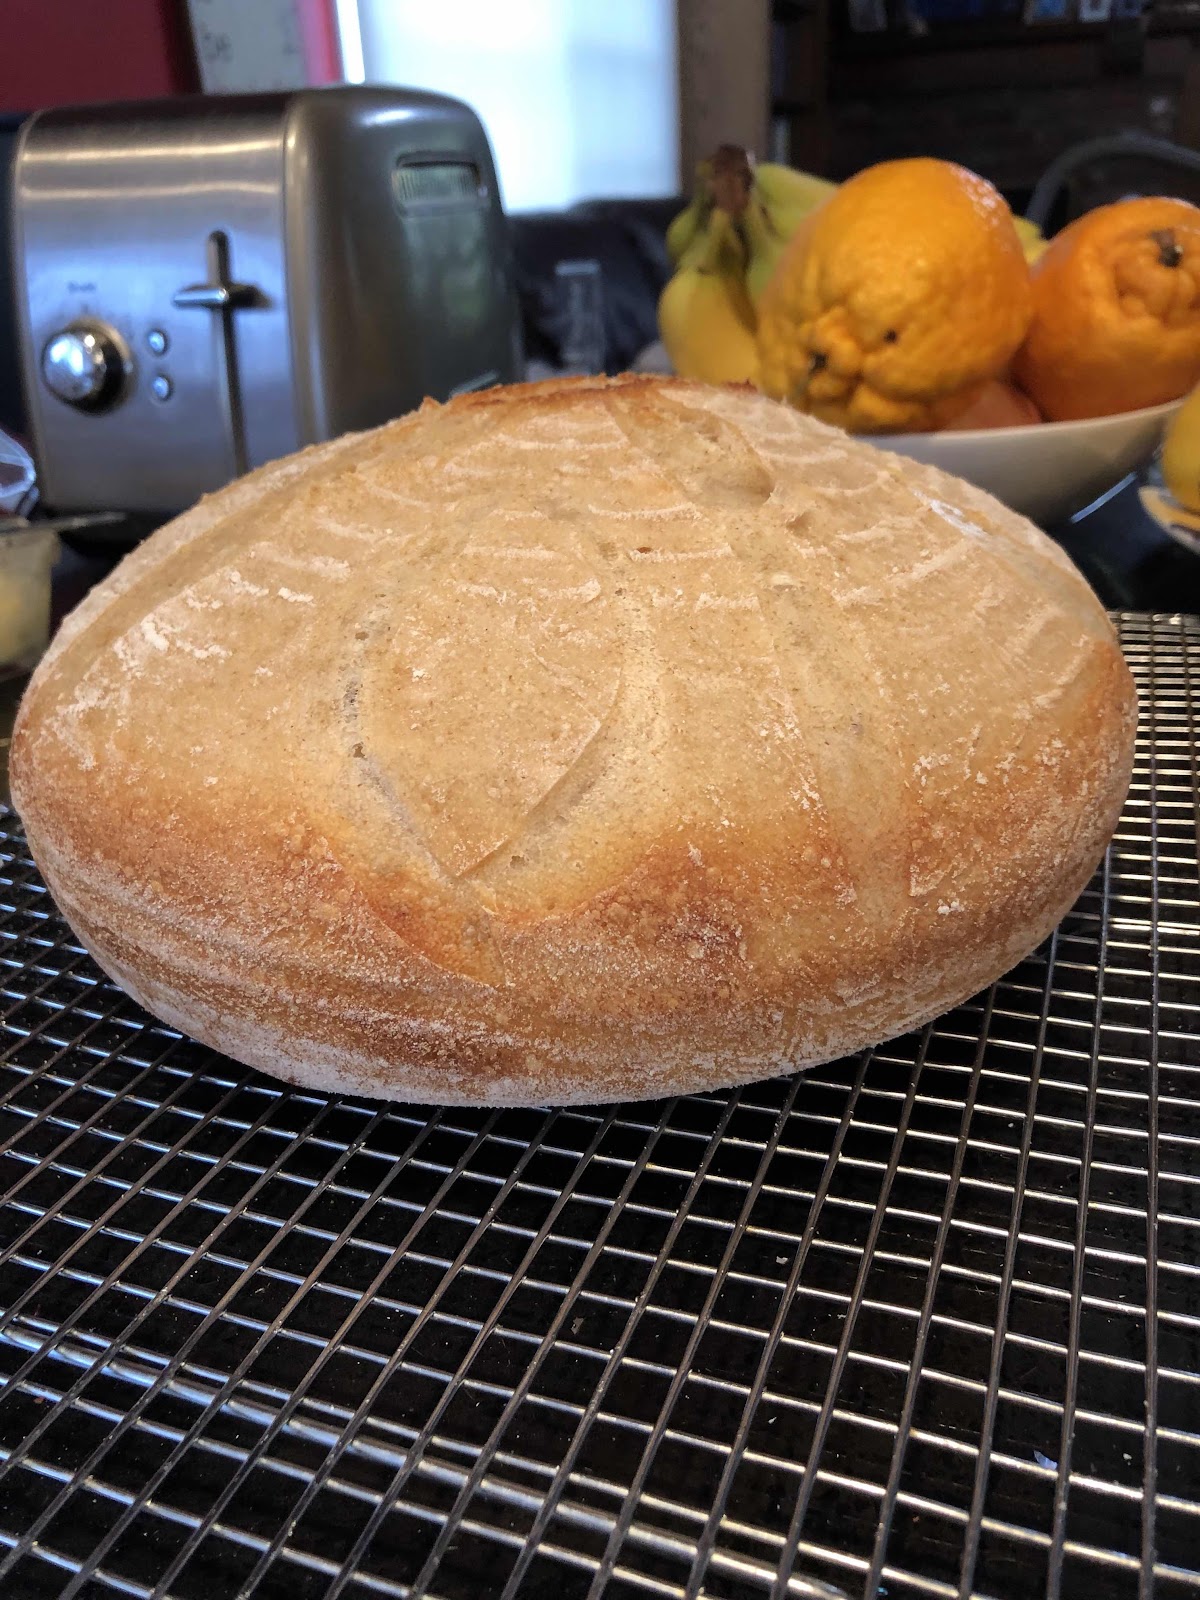
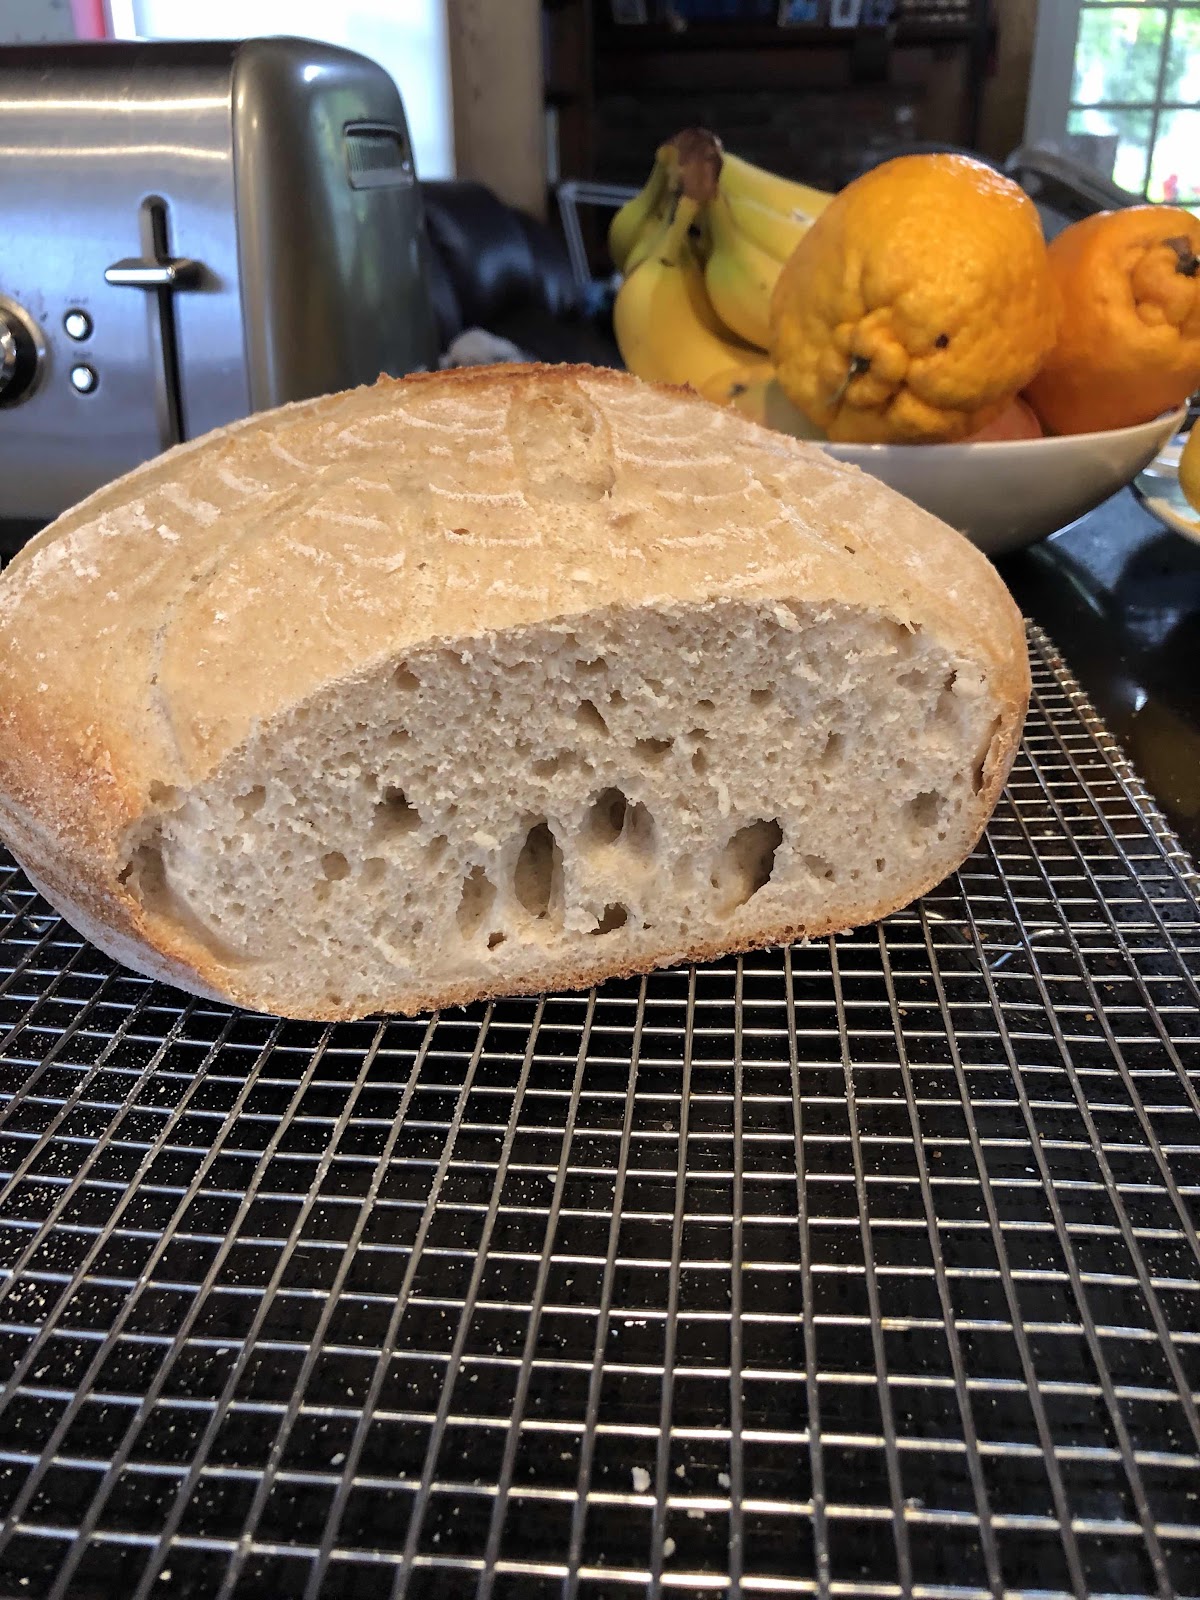
I have done variations on this recipe. I used lemon rosemary salt and chopped rosemary. I have left out the extra yeast, made flat bread, cooked on a pizza stone. Every week, I try something new to add. I am enjoying the process and especially having for toast with my breakfast!


This is my latest loaf using 2 cups KAF, 1 cup Spelt and 1 cup starter. I love the holes!