Friday, November 18, 2011

Mussels in White Wine Saffron Broth

This recipe is so easy to make it is ridiculous.  For anyone who is unsure of dealing with mussels, there are three main things I have to say about them:  1) buy them from a reliable source to guarantee freshness, 2) bearding, and 3) wash them off prior to cooking them.
The best place to purchase mussels is the same as the best place to buy any other seafood:  buy from a market that has plenty of business and moves the product quickly.  Ask how long the mussels have been in the store.  A good fish market will readily supply that info.
Bearding:  the beard is the little bit of "straw-like" fiber that is frequently found on the concave side of the shell.  It serves as a means of anchoring the mussel to the side of a rock  under water.  All you need to do is grasp it and pull it off prior to cooking.  Some mussels don't have the beard attached when you purchase them.
Washing:  I simply run water over my mussels and inspect them while I'm bearding them.  The mussels will most-likely be closed shell when you are working with them prior to cooking.  Any mussels that aren't closed at this point are suspect and I would toss them.
Mussels will open up once they are cooked, which happens very quickly when exposed to hot broth. Any mussels that do not open should be tossed.

For this recipe, which uses 2 lbs of mussels in-shell (approximately 3/4 to 1 lb per person is a good ratio):
mussels
1 cup to 1.5 cups of a good white wine
1 carton grape tomatoes, sliced in half lengthwise
1/3 cup chopped fresh Italian parsley
30 basil leaves sliced into thin strips
1/3 to 1/2 cup capers, rinsed well in water and chopped
pinch saffron (optional)
6-8 garlic cloves, minced
1/2 tsp red pepper flakes
olive oil
shaved or shredded parmesan reggiano cheese (use the real stuff!)

2 lbs mussels, washed and bearded, resting in a colander until needed


olive oil is heated to shimmer, then red pepper flakes are added.
Heat for about one minute before adding the garlic.

Add garlic and cook until aromatic, about 1-2 minutes

Add tomatoes

Add fresh parsley and basil.

Add chopped capers

Add part of the white wine (notice I'm not too worried about measuring LOL)

a pinch of saffron (optional)

add water and bring contents to just shy of boiling.
Broth should be steaming and a few bubbles visible.

Add mussels.  "Baste" the mussels with the broth.
Cover pan for a couple of minutes to allow steam to heat the mussels.

See how the mussels are now open?  
This means they are cooked!

Heap mussels into a deep bowl along with plenty of broth.
Be sure to have an extra bowl at the table for the shells to be placed after removing.

To remove the mussel from its shell, use a small fork or spoon and 
scoop it out of the shell.  I do this to all the mussels prior to consuming the dish.
Why not do it before?  I think the mussels in their shells add a great deal of flavor to the 
soup broth.

Once the mussels are out of their shells, I add a bit of parmesan reggiano to the soup.

Oh Yum!
This is savory and delicious.
It is so simple and quick to make.
Enjoy!!

Tuesday, November 15, 2011

"Hands-On" Sushi Class @ Central Market Cooking School

The day after we returned from the International Quilt Festival in Houston Jamie and I signed up for a "hands-on" cooking class at the Central Market Cooking School here in San Antonio.  Once again, I have to say how fortunate I feel to be living in a city with both a CM Cooking School as well as a branch of the Culinary Institute.  To say that taking classes from these two fine schools would be a vast understatement!
That said, I have always been a bit daunted by sushi.  I tried it a number of years ago, but found that I felt very uncoordinated.  Perhaps it was the interim and having learned to make Vietnamese spring rolls (which IMHO are much more tricky) or the fact that we were using the bamboo roller with a sheet of saran wrap on it, but this class gave me a great deal of confidence in making sushi!
Chef Goro and his CM assistant prepare the sushi rice


Jamie anticipates sushi-making 

we are served a lovely cucumber salad while waiting to make our sushi rolls

All the ingredients were distributed to each participant at our tables,
which were sanitized prior to the class starting.

grab a handful of the sticky sushi rice and place it in the nori sheet
along with the crab and veggies

roll and "squeeze" the roll just slightly, cross cut, and yum!

here is a shrimp tempura roll (rice outside the nori on this one)

it sure doesn't seem like this would work....

but it did!


the contents of a spicy tuna hand roll

chef Goro demonstrates what the rice should look like for the hand roll

a spicy tuna hand-roll, which looks a bit like an ice cream cone!

Thursday, November 10, 2011

The Kitchen Counter Cooking School Book Review & giveaway

I picked up Kathleen Flinn's first book, "The Sharper Your Knife, The Less You Cry", a couple of years ago and enjoyed reading about her journey of stepping out of her comfort zone, moving to Paris, and navigating the unfamiliar waters of Cooking School at Le Cordon Bleu.  I guess I enjoy living vicariously through people who take a huge chance and embark on something so different from their previous life.  Plus, I enjoy books about cooking!
When I saw the newest listing for Kathleen Flinn, I was intrigued.  To some degree, this book picks up (albeit a few years down the road) where the other one left off.  We rejoin Kathleen after she has returned to Seattle, married Mike, and find her wandering around in the grocery store observing individuals as they shop.  
I was instantly captivated by this story, as she approaches two people in the store and engages them in a conversation about how to prepare a dish.  She begins to wonder why people choose such highly processed foods rather than opting for the simpler, less-expensive, and healthier versions of what they eat.
This leads to an experimental cooking class which includes individuals from a broad cross-section of lifestyles who volunteer to participate to learn how to do basic, and not-so-basic, food preparation skills.  
Along the way, Kathleen shares recipes, offers tips for how to select foods, knife skills, and more.

I believe this is a book that would be useful to the novice cook, as well as an enjoyable, yet still-educational, book for someone with more experience.

I am so enthusiastic about it that I would like to offer a copy to one of our readers!  Here is how to qualify to win:  please leave a comment at the bottom of this post about what you most enjoy about cooking, as well as a skill you feel you could improve upon.  I will take posts all the way up to the day before Thanksgiving.  Cutoff for winning a copy of the book will be 12:01 am, 11/24/11.  I will choose a random # based on how many people leave a comment.  I will announce the winner (hopefully!) on Wednesday, 11/23/11.  The book will be shipped after I return from traveling for Thanksgiving weekend.  


Monday, November 7, 2011

Day After Festival Autumn Frittata

There is nothing as "comfort-food yummy" as a lovely frittata.  This morning, it was just what Jamie and I needed after a busy week at the International Quilt Festival in Houston.  Since I had been gone for a week I was unsure of what remained in the refrigerator, but I found plenty of good things to make a delicious frittata, and even enough for 2 mornings!

Ingredients:
5 eggs, beaten
1/4 cup roasted fresh pumpkin, mashed
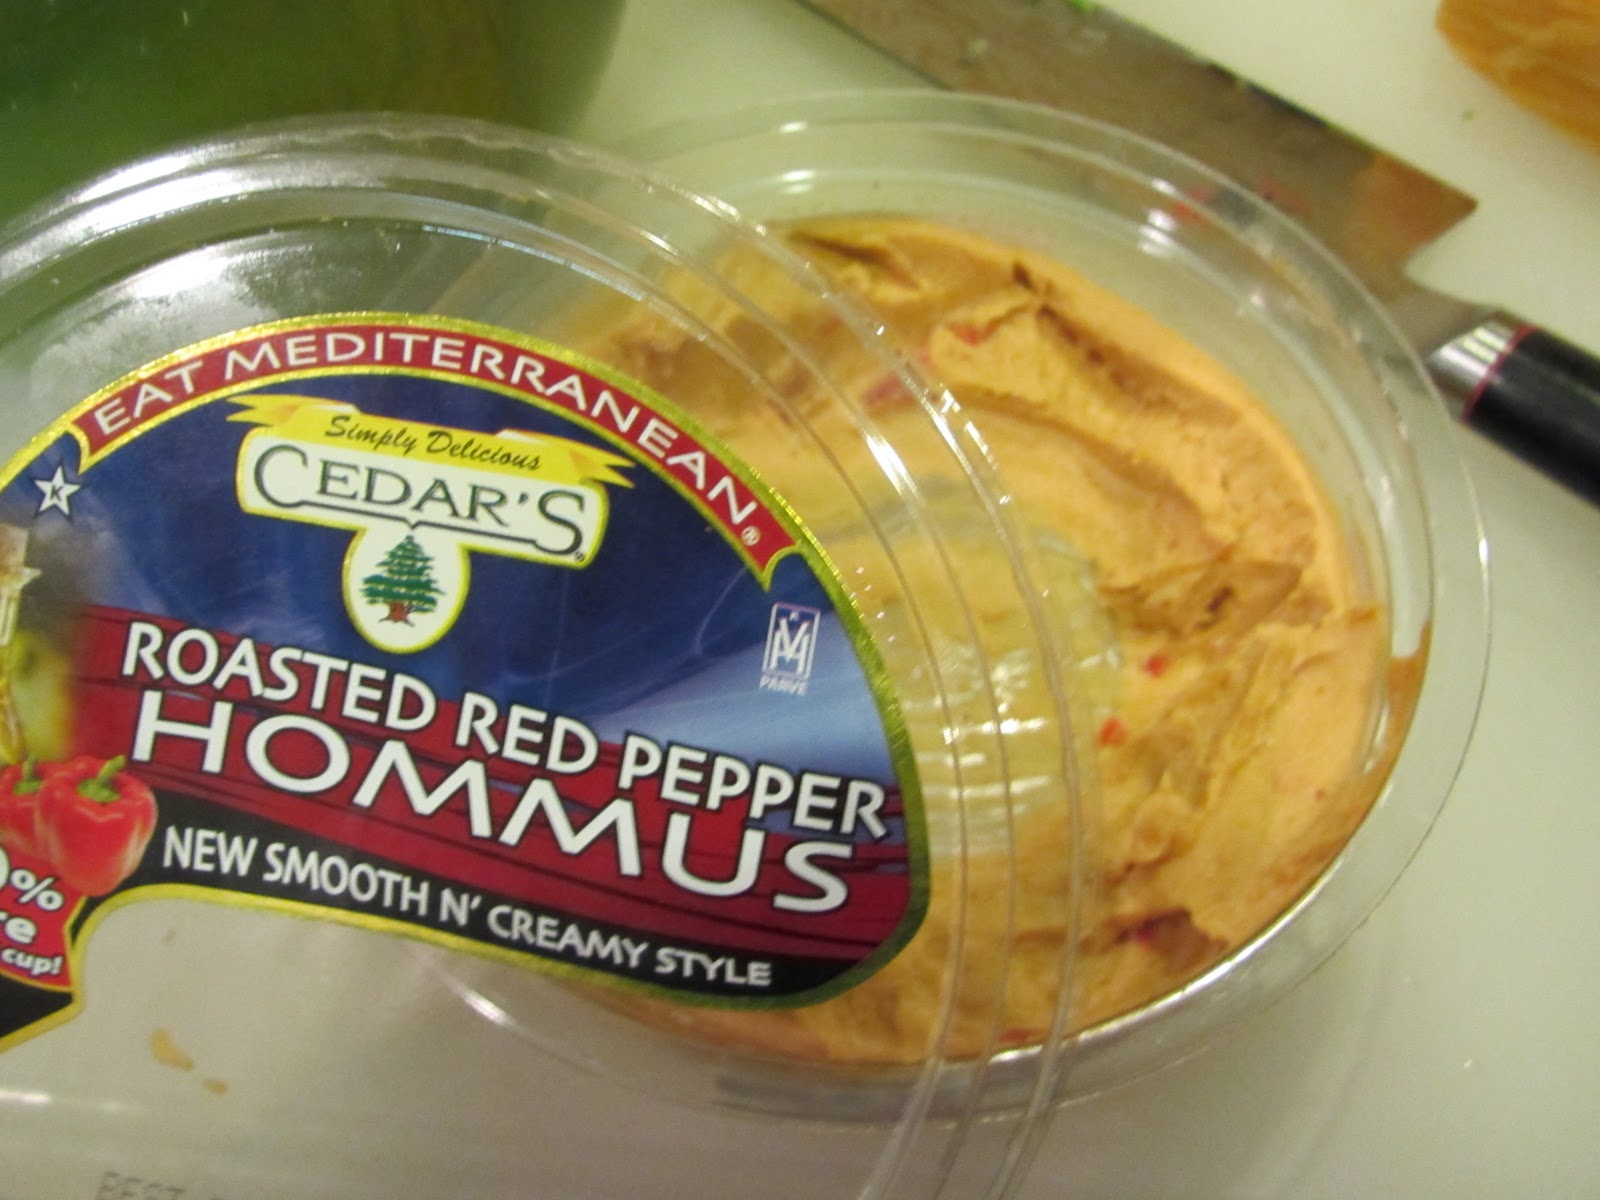
3 tablespoons roasted red pepper hummus
1/4 cup shredded cheddar cheese
1 bunch fresh spinach, triple-washed, stems removed

Individual baking dishes, rubbed with butter

Preheat oven to 350'F.

  In a large pot, heat about 6 cups of water to boiling. Add spinach and blanch for approximately one minute.  Remove from heat and drain spinach leaves.  I spun them in my salad spinner to remove as much moisture as possible.  Allow to cool.
Beat eggs and add half the pumpking mixture, beat until well-mixed.  Pour egg mixture into equal portions in the baking dishes.  Add a sprinkle of shredded cheese to each dish.  Add remaining pumpkin in equal portions to each dish.  Add a spoonful of the hummus in small "clumps" to each dish.
Once the spinach is cooled, pick up handfulls and squeeze the excess moisture from the leaves.  Place on a cutting board and slice it into 1/4 inch cross cuts.  Separate the spinach loosely, then add to each dish.
Finish with the remaining shredded cheese in equal portions over the surface.
Place the dishes on a cookie sheet or shallow pan that has been covered with parchment paper.
Bake for 17 to 18 minutes, then turn the oven to broil to finish the tops.  Serve while hot.
You may wish to add a dollop of creme fraiche to each dish.
Enjoy!


This is great for any meal!